Selecting High-Quality Analog Audio for Your LaserDisc Setup

This guide explains how to select, connect, and optimize high-quality analog audio components for your LaserDisc setup. You'll learn the difference between various audio outputs, how to match your player's signal to your amplifier, and how to minimize the noise inherent in vintage analog hardware.
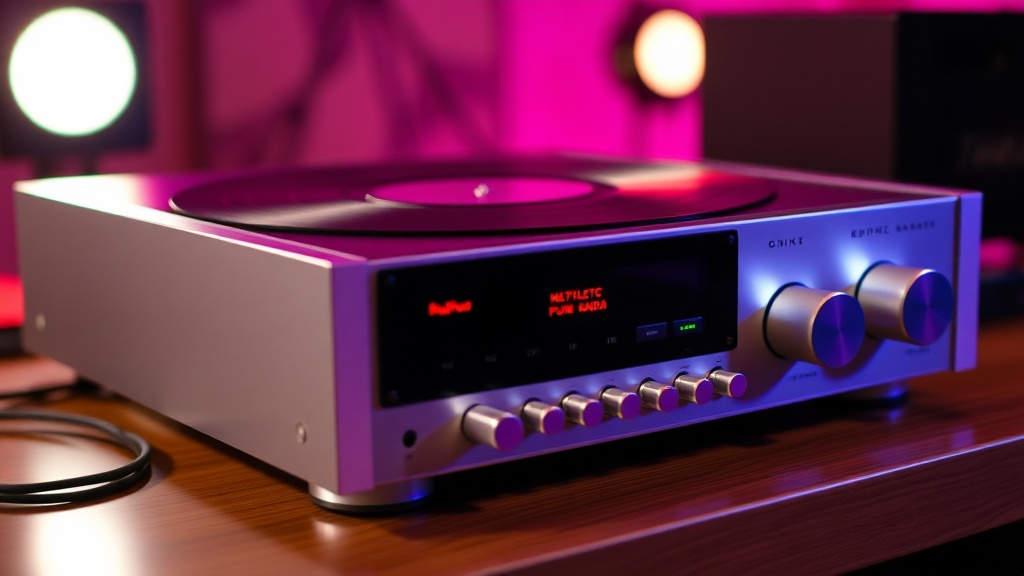
If you've spent years hunting down rare pressings and collector editions, you know that the visuals are only half the battle. A high-end LaserDisc—especially those with high-bitrate PCM audio—deserves more than a cheap pair of computer speakers. If you're still using a standard RCA-to-3.5mm cable to plug into a modern Bluetooth speaker, you're leaving a massive amount of detail on the table.
Why Does Analog Audio Quality Matter for LaserDiscs?
Analog audio quality matters because LaserDiscs often carry much higher dynamic range and bit depth than standard consumer DVDs or even some early digital formats. While many modern streaming services compress audio heavily, a well-preserved LaserDisc with uncompressed PCM (Pulse Code Modulation) audio provides a raw, punchy soundstage that digital compression often flattens.
Think about the way a vintage film score sounds. When you're watching a classic Ridley Scott film, the low-end rumble of a spacecraft shouldn't sound like a muddy mess. It should feel heavy and visceral. To get that, you need a signal path that respects the original analog intent of the recording. It's not just about volume; it's about the fidelity of the signal from the disc to your ears.
Most vintage players, like the legendary Pioneer Elite series, were built with high-quality Digital-to-Analog Converters (DACs). These internal chips do the heavy lifting of turning that digital data into an analog voltage. If your external gear can't handle that voltage or lacks the headroom to reproduce it, you're essentially bottlenecking your experience.
A common mistake I see is people assuming that "digital is always better." In the world of retro media, the "digital" part of a LaserDisc is actually a high-fidelity PCM stream that is intended to be converted into a high-quality analog signal. If you don't treat that conversion process with respect, the entire experience feels hollow.
How Do I Connect My LaserDisc Player to an Amplifier?
You connect your LaserDisc player to an amplifier using RCA cables—typically red and white—to carry the analog stereo signal. Most high-end LaserDisc players utilize a two-channel analog output system designed to interface with standard stereo receivers or integrated amplifiers.
Here is a quick breakdown of the connections you'll likely encounter:
- Analog RCA (Red/White): The standard for most setups. These carry the L/R (Left/Right) stereo signal.
- Optical/Coaxial Digital Out: Some high-end players allow you to bypass the internal DAC entirely. This sends the raw digital signal to an external DAC or a modern receiver.
- Phono Inputs: A warning—never plug your LaserDisc player into a "Phono" input on a receiver. The signal is much too "hot" and will sound distorted and harsh.
If you have a player with a digital output, you might consider using an external DAC. This is a great way to bridge the gap between 1990s tech and modern high-fidelity audio systems. By sending the digital signal out via a coaxial cable to a dedicated DAC, you're letting a modern piece of hardware handle the conversion. It can often result in a cleaner, more precise sound than the internal chip found in a twenty-year-old player.
One thing to keep in mind: if your player is older, the signal might be a bit "noisy" due to aging capacitors. If you notice a constant hum, it might not be your speakers—it could be the player itself. Before you go out and buy a $500 amplifier, make sure you've mastered rescuing your player from mechanical or electronic failure, as a dying power supply can often introduce noise into the audio path.
Comparing Audio Connection Methods
| Connection Type | Signal Type | Best For... | Pros/Cons |
|---|---|---|---|
| Analog RCA | Analog | Standard Stereo Receivers | Simple, reliable, but prone to interference. |
| Coaxial Digital | Digital | External DACs | Highest fidelity; avoids internal player noise. |
| Optical (Toslink) | Digital | Modern AV Receivers | No electrical interference; very clean signal. |
What Equipment Should I Buy for Better Sound?
You should look for a dedicated stereo amplifier or an integrated receiver with high-quality RCA inputs and a decent power rating. The "best" equipment depends on your budget, but a mid-range vintage receiver from a brand like Denon or Onkyo will often outperform a cheap modern soundbar.
Don't just look at the price tag. In the vintage world, the quality of the internal components matters more than the marketing. A solid-state amplifier from the late 90s will often have a much more "musical" and warm sound than a budget-tier modern digital amplifier. This is especially true when you're listening to the uncompressed PCM tracks found on many high-end LaserDiscs.
Here are a few things to look for when shopping for audio gear to pair with your collection:
- High-Quality RCA Cables: Avoid the "no-name" cables found in grocery stores. Look for shielded cables to prevent electromagnetic interference (EMI) from your power cables.
- Integrated Amplifiers: These are great because they combine the preamp and power amp in one box. They're easy to set up and don't require much space.
- Studio Monitors: If you aren't using a full home theater setup, a pair of active studio monitors (like those from JBL or Yamaha) can provide incredible clarity for your analog signal.
If you're finding that your audio is slightly distorted or "thin," check your playback speed. If the player isn't spinning at the exact correct RPM, the pitch and quality of the audio will be off. This is a common issue with aging players, and it's worth checking your mechanical maintenance regularly.
It's also worth noting that many people overlook the importance of the cables themselves. You don't need to spend hundreds of dollars on "audiophile-grade" cables, but a cheap, unshielded wire will absolutely pick up the hum from your nearby power strips. I've seen many collectors struggle with a "buzz" that was actually just poor cable management.
The goal is to create a signal path that is as "clean" as possible. Every time you add a connection or a piece of hardware, you're adding a potential point of failure or a point where noise can enter the system. Keep it simple. A direct path from your player to a solid amplifier is often better than a complex chain of converters and splitters.
If you're really serious about the audio, I suggest looking into dedicated DACs that support the specific sample rates of the digital audio found on LaserDiscs. Most of these discs use a 44.1kHz or 48kHz sample rate, which is standard, but having a high-quality converter ensures that the transition from digital to analog is as transparent as possible.
Remember, your goal is to hear the movie the way it was intended. If you've spent a lot of time on preserving the value and display appeal of your collection, make sure you're also preserving the integrity of the listening experience. A great film deserves a great soundstage.