Why Your Vintage LaserDisc Player Needs a Specialized Cleaning Routine

The Dust Problem: Why Standard Cleaning Fails Your Player
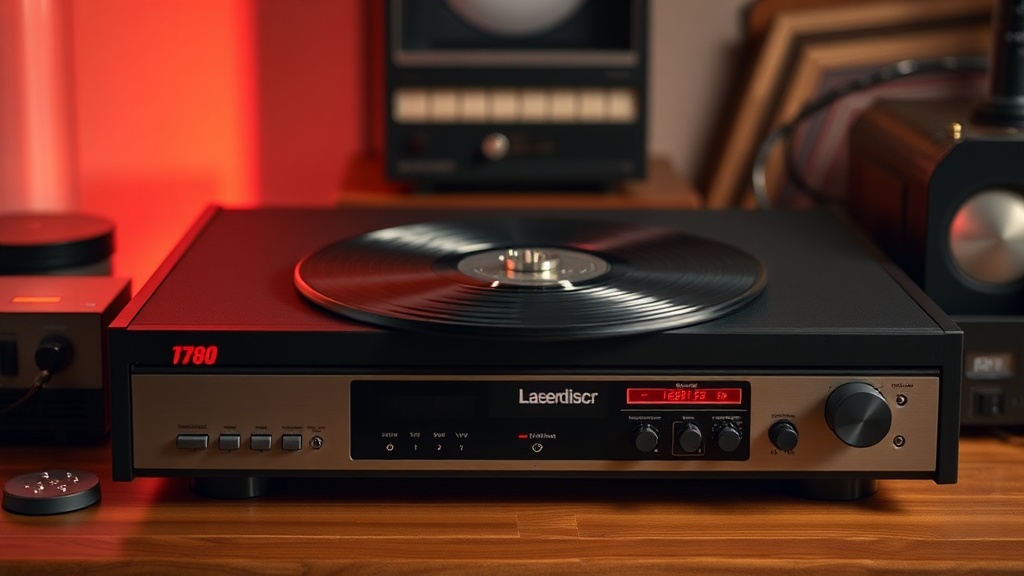
You pull a heavy, top-loading player out of a storage crate, plug it in, and hit play. The disc spins, the laser engages, but instead of a crisp picture, you get a jittery, stuttering mess on your screen. A single speck of dust or a microscopic film of dried lubricant can disrupt the optical path, making even a pristine disc look like a low-quality copy. This isn't just a minor annoyance; it's a fundamental issue of physics. Because the laser assembly is delicate and often exposed to the ambient air within the machine, standard household cleaning methods simply don't cut it.
When we talk about maintaining these machines, we aren't just talking about a quick wipe-down. We're talking about managing the mechanical life of a piece of technology that was built to last, but is now decades old. If you've ever seen a laser lens that looks slightly clouded or has a thin layer of grime, you know the frustration. A standard microfiber cloth and some water won't fix a laser head that has been sitting in a dusty Oakland attic for ten years. You need a specific approach to prevent damage to the sensitive optics.
How Do I Clean a LaserLens Without Damaging the Optics?
The first rule of optical maintenance is to never use anything abrasive. A common mistake is using a Q-tip with too much pressure or, heaven forbid, a paper towel. Paper towels are made of wood pulp—they are essentially tiny saws that will leave microscopic scratches on the lens surface. Instead, you should use high-purity isopropyl alcohol (91% or higher) and specialized lens cleaning swabs or very high-quality, lint-free microfibers. If you're working on a top-loading player, you'll often need to be extremely careful about how much liquid you apply. You want the swab to be damp, not dripping.
Start by gently touching the surface of the lens with the alcohol-dampened swab. Do not scrub. Use a light, circular motion to lift the particles. If you see a residue left behind, you aren't finished. The goal is to remove the debris without leaving a streak of alcohol or a new layer of lint. For those who are more hands-on, many collectors look toward specialized kits designed for optical-media hardware. You can find reliable technical information on component maintenance through resources like Stack Exchange, which provides deep technical dives into how optical components behave.
What Are the Best Tools for Laser Maintenance?
You can't just grab whatever is in your junk drawer. A professional-grade toolkit for a vintage enthusiast should include a few specific items. First, a high-quality air blower (the kind used for DSLR cameras) is a must. This allows you to blow away loose dust before you ever touch the lens with a physical object. If you touch a dusty lens with a swab, you might actually be grinding the grit into the glass. Second, you need a steady hand and a high-lumen flashlight. You can't clean what you can't see. A bright light will reveal the subtle film that a standard room light would hide.
- Air Blower: For removing loose debris without contact.
- 91%+ Isopropyl Alcohol: To dissolve oils and residues.
- Precision Microfiber: Only high-grade, lint-free versions.
- Magnifying Lens: To inspect the lens for remaining imperfections.
If you are dealing with a more complex issue, such as a laser assembly that needs to be removed entirely for cleaning, you're moving into the realm of technical repair. At that point, you might want to consult enthusiast forums or documentation from sites like Internet Archive to find scanned manuals for specific models. Knowing the exact architecture of your player determines whether you can do a simple surface clean or if you need a full teardown.
Can I Use Compressed Air to Clean the Internal Components?
This is a dangerous game. While a can of compressed air is great for blowing dust out of a computer keyboard, it can be disastrous for a vintage LaserDisc player. The force of the air can actually push dust deeper into the optical path or, even worse, blow a piece of debris directly into the spinning motor mechanism. If you use compressed air, use it sparingly and at a distance. Never point the nozzle directly at the laser lens or the moving parts of the spindle. The pressure can be high enough to dislodge sensitive parts or even bend a small component.
Instead of a heavy blast of air, try a series of very short, gentle puffs from a distance. This minimizes the risk of a "dust storm" inside the chassis. If you see a buildup of heavy grime or old grease on the mechanical rails, air won't help. In those cases, a specialized electronics cleaner that evaporates quickly is a better bet. You want to remove the old, sticky lubricant and replace it with fresh, high-quality grease, but that is a task for a more advanced level of maintenance.
A Note on Lubrication and Mechanical Parts
The mechanical-to-optical interface is where most failures happen. The tracks that the laser assembly moves along are often coated in a thin layer of grease. Over twenty or thirty years, this grease can turn into a thick, sticky paste. If the laser can't move smoothly, it will struggle to stay in focus, leading to the playback errors we discussed earlier. If you notice the player making a grinding sound or if the laser seems to "stuck" during a seek operation, the problem might not be the lens itself, but the mechanical movement of the assembly. Cleaning the lens is a great start, but it's only one part of a larger maintenance ecosystem.
Always remember that these machines were built with high-quality materials, but they are still mechanical devices subject to the laws of friction and wear. Treat them with the respect an enthusiast would. A well-maintained player is a machine that will continue to play your favorite films for decades to come. Don't rush the process; a slow, methodical approach is always better than a fast, sloppy one that might leave you with a broken player and a very expensive paperweight.