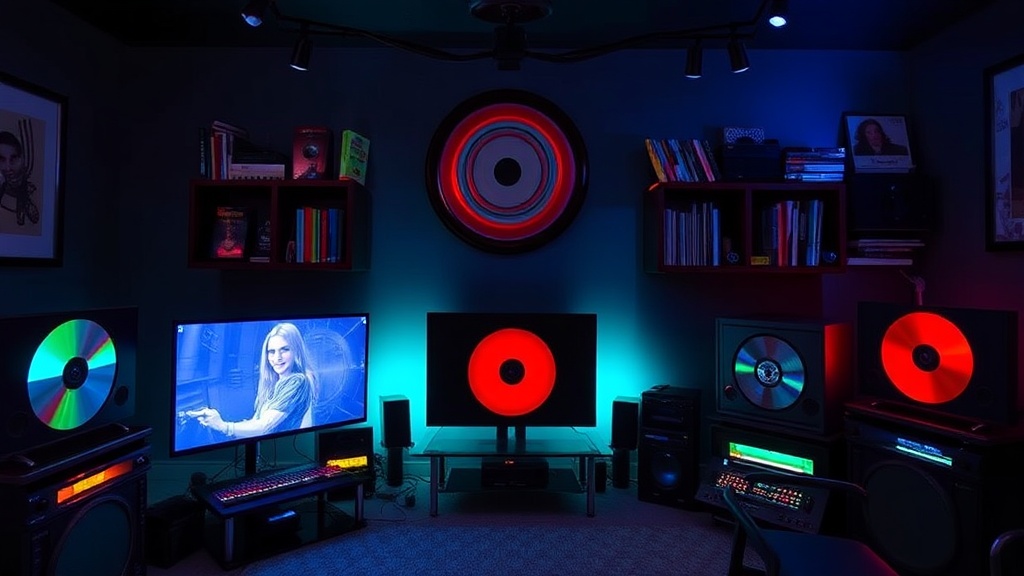
What Display Setup Actually Does Justice to Your LaserDisc Collection?

So you've got your hands on some pristine LaserDiscs—maybe a Japanese import of Akira or that Criterion Blade Runner you've been hunting for months. Now what? Pop it into any old player connected to your modern TV and you'll quickly discover that these analog treasures don't always play nice with contemporary displays. The question isn't whether your discs still work—it's whether you're actually seeing what they can deliver.
This guide walks through display options that respect the format's analog roots while acknowledging the realities of 2026 living rooms. We're not chasing perfection here (that's a rabbit hole with no bottom), but we are after a setup that lets those 12-inch silver platters shine the way their creators intended.
Why Do My LaserDiscs Look Worse on My 4K TV Than They Did in 1995?
The short answer: your modern television is doing too much work. LaserDiscs output a 480i analog signal—interlaced video at standard definition. Your shiny 4K OLED is expecting digital, progressive content at much higher resolutions. When you feed it LaserDisc video, the TV's scaler kicks into overdrive, often introducing lag, artifacts, and that weird "soap opera effect" that makes everything look like a cheap video production.
Modern TVs also apply motion smoothing, edge enhancement, and noise reduction that actively fight against the grain structure and organic film look that makes LaserDiscs appealing in the first place. That "noise" your TV is trying to clean up? It's often intentional film grain or the natural texture of analog video. Scrub it away and you're left with a plastic-looking image that satisfies nobody.
There's also the matter of aspect ratio. LaserDiscs preserve films in their original theatrical ratios—2.35:1 widescreen, 1.85:1 standard widescreen, 1.33:1 Academy ratio for older titles. Modern TVs default to 16:9 and will stretch or zoom your disc to fill the screen unless you manually adjust. Watching 2001: A Space Odyssey stretched to fill a 65-inch wall-mounted display is, frankly, a crime against cinema.
Is a CRT Still the Best Option for LaserDisc Playback?
For purists? Absolutely. For most collectors? It's complicated.
CRT televisions (especially professional-grade monitors from Sony's PVM/BVM lines or high-end consumer Trinitrons) handle 480i natively. No scaling, no conversion, no lag. The scanlines align perfectly with the interlaced signal, creating that warm, film-like image that made home theater enthusiasts fall in love with the format in the first place. A well-calibrated 27-inch Sony Trinitron from the late '90s will show you things in your collection you've never noticed on a modern display.
The problem is logistics. CRTs are heavy (that 27-inch Sony weighs 75+ pounds), they're disappearing from the secondary market, and repair knowledge is becoming scarce. Capacitors age, tubes wear out, and finding someone who can perform high-voltage repairs gets harder every year. If you have the space and the willingness to maintain vintage gear, a CRT remains unmatched for authenticity. CRTs and Co maintains a directory of repair shops and enthusiasts who can help keep these displays alive.
For those without CRT access—or those who can't justify the footprint—there are alternatives that get you 85% of the way there. The goal becomes finding a display that handles standard definition gracefully rather than fighting it.
What Settings Should I Adjust on My Modern TV?
If you're using a contemporary display, a few targeted adjustments make a world of difference. These aren't magic bullets, but they'll get you closer to acceptable playback.
First: disable every "enhancement" your TV offers. Turn off motion smoothing (often labeled MotionFlow, TruMotion, or ClearAction), disable edge enhancement, and shut down noise reduction entirely. These features expect clean digital signals and will mangle analog video. Your LaserDisc player already output the signal the way it should look—your TV doesn't need to "fix" anything.
Next: set your aspect ratio correctly. Most LaserDiscs are either 4:3 (full screen) or letterboxed within a 4:3 frame. Your TV should be set to display 4:3 content with black bars on the sides, not stretched. For letterboxed discs, you'll see black bars top and bottom as well—this is correct. Resist the urge to zoom or stretch.
Finally: enable game mode if your TV offers it. This minimizes input lag from video processing. LaserDisc players already have mechanical lag from the laser pickup and tracking systems—you don't need your display adding 100+ milliseconds on top of that. RTINGS provides excellent guidance on locating and enabling these settings across major TV brands.
Should I Invest in an External Video Processor?
External scalers and line-doublers sit between your LaserDisc player and your display, converting that 480i analog signal to something your modern TV can handle without choking. The most respected option in the retro gaming and LaserDisc communities is the RetroTINK 5X Pro, though it's frequently out of stock due to demand.
Quality processors apply thoughtful, minimal scaling that preserves the character of analog video while making it compatible with digital displays. Cheap converters from Amazon do the opposite—aggressive processing that strips away everything interesting about the format. Expect to spend $100-300 for a decent processor, and consider it insurance against future TV upgrades that might handle SD signals even worse than current models.
Some collectors skip external processors and invest in high-end players with superior internal digital outputs. The Pioneer Elite DVL-91 and similar late-generation players output cleaner signals that modern TVs handle more gracefully. There's no single right answer—only trade-offs between budget, space, and fidelity priorities.
What About Projectors?
Home theater projectors offer an interesting middle ground. Many modern projectors handle 480i better than flat panels, and the large image size recreates some of that cinematic immersion that made LaserDisc feel revolutionary in the '80s and '90s. Look for projectors with minimal input lag and the ability to disable motion processing.
The catch is light control. LaserDiscs weren't designed for bright living rooms, and their relatively dim output (compared to Blu-ray or streaming) requires a darkened space to look their best. If you're setting up a dedicated media room, a projector paired with a quality screen can deliver genuinely spectacular results—especially for those letterboxed widescreen titles that benefit from massive scale.
Quick Reference: Display Options Ranked
| Display Type | Authenticity | Convenience | Cost |
|---|---|---|---|
| Professional CRT (PVM/BVM) | Excellent | Poor | Variable |
| Consumer CRT (Sony Trinitron, etc.) | Very Good | Fair | Low |
| Modern TV + Quality Processor | Good | Very Good | Medium |
| Modern TV (properly configured) | Fair | Excellent | Variable |
| Modern TV (default settings) | Poor | Excellent | Variable |
The "best" display for your LaserDisc collection depends on your priorities. Purists will hunt down professional CRTs until the last tube flickers out. Pragmatists will grab a RetroTINK, disable their TV's worst habits, and enjoy collections without the space commitment. Neither approach is wrong—both beat the third option, which is letting those beautiful discs gather dust because modern tech made them look terrible.
Your collection deserves better than default settings and stretched aspect ratios. Take an afternoon, dial in your display properly, and rediscover why you started collecting these oversized silver discs in the first place.